Inside the cave…

This afternoon, we put our art skills to the test.

We replicated a cave-like feel within our classroom so we could get a sense of what it was like drawing cave art in the Stone Age.

Some of us complained of stiff backs and necks, and even complained that we couldn’t see what we were doing. Maybe we should have had a fire torch in the classroom!

Print Friendly, PDF & Email

Stone Age Cave Art

We have started our new topic in class this week. The Stone Age!

Our hook for the topic was Cave Art, we had a look at Cave Art and replicated the skills cavemen/ women would have used back in the Stone Age.

Keep your eyes peeled for us working in a cave-like, dark classroom. 

Print Friendly, PDF & Email

Banksy stencils

This afternoon, we produced our very own stencil artwork in the style of Banksy, this is the emulate stage of art.

We had a look at some of Banksy’s most famous pieces and the messages behind them, we focused in on certain aspects of the images that we like. The heart balloon, from ”There is always hope” was a popular one amongst the class.

Next, we’re going to innovate Banksy’s work – this is where we will come up with our own inspiration for a piece of artwork that portrays a message in our own style but using the same skills as Banksy.


Print Friendly, PDF & Email

Banksy’s use of stencils!

We’ve figured out that Banksy is so fast and mysterious with his work that there must be something he uses to help him!

We recognised that he uses graffiti stencils, this afternoon, we had a go at crafting our own stencils using VERY sharp knives so we had to be extremely careful with our cutting skills.

Tomorrow, we’re going to have a go at painting with our stencils and see if we can produce our very own Banksy style artwork with slogans.

Print Friendly, PDF & Email

Reading about Banksy

This week, we have started our art week!

We’ve had a brilliant start to learning about Banksy and come across a lot of vocabulary that we haven’t heard of before. Such as:

  • political activist
  • anonymous
  • conceal
  • speculation
  • identity
  • slogans
  • imitate

We’ve used our VIPERS vocabulary skills to match the words to their definitions. Why don’t you ask us at home what the words mean?

Print Friendly, PDF & Email

The finished product

Check out our completed Miners’ Strike inspired art…it looks amazing on the classroom wall!  Lewis even called it the ‘Wall of Doom!’ because of the gloomy and somber atmosphere we had created!

Print Friendly, PDF & Email

Nearly there…

We got a little more done on our Miners’ Strike inspired artwork today. looking good…

Print Friendly, PDF & Email

Art inspired by the scenes from the Miners’ Strike

As our Unit on local history and mining draws to a close, we have been looking at photographs of the scenes that took place during the ’84 Miners’ Strike.

In literacy, we were trying to imagine what those men would have been thinking about or saying in those photos.  We have decided to try and capture those feelings with a piece of artwork.  It will take several stages for us to get to the finished piece.

Step 1-

Mr Swallow brought in lots of photographs of people who are angry!  Some of them were actors, pretending to be angry and some of them were real photos of how people behaved in riots or strikes.  We were looking at the poses that showed their feelings and the posture in which they were holding their body.  A lot of them were remarkably similar!

Step 2-

Next, we chose a partner and Mr. Swallow gave us a huge piece of art paper.  We could either trace the person from the photograph and then edit the tracing to look like the character we wanted, or just use the pose of the person in the photo to inspire and inform our own drawing.  We scribbled on the back of the tracing paper so that we could then print our tracing onto the huge art paper.  Together, we built up a selection of scenes showing the angry protests of the miners on our big paper.

Step 3-

The final step was to frame the scenes.  We chose charcoal because of the obvious tonal links to coal and the miners.  Framing the scenes in a black, dusty cloud gave the pictures a foreboding sense of anger and darkness.  The charcoal even reminded us of the clouds of smoke we saw in the riot pictures or ‘clouds of anger’ as Tilly eloquently put it!  We want our pictures to represent the scary, upsetting and even dangerous situation that those miners found themselves caught up in in the dark days of 1984.

Print Friendly, PDF & Email

We have been looking at the art of Sheffield-born artist, Pete McKee

We love his pictures so we wanted to analyse his style.  That means we want to figure out what makes a typical McKee painting, a McKee painting.

We spotted that he uses:

  • Bold, cartooney colours.  The colours have shadow details too.
  • Simple style, don’t use too much detail
  • You hardly ever see peoples eyes or mouths

We soon realised that there was much more to a McKee than the type of drawing though…we noticed quite a bit about the subjects he paints:

  • They are typical Yorkshire people doing things we all like to do…visiting the coast, watching footy, eating chips
  • They wear typical Yorkshire clothing, like flat caps and football shirts (unfortunately of Sheffield teams rather than Barnsley!)
  • There are often typical Yorkshire landmarks or scenery in the background (we spotted the rainy weather in the cafe scene Mr McKee!)

We decided to use all these elements to create our own Pete McKee-style artwork.  So, Mr. Swallow sketched out a few ideas about things that mattered to him (his brother helping him on his house, his father-in-law blowing on his cup of tea and even a Yorkshire pudding!)

We then looked at how to import the sketches into the computer and reformat them so that we had a digital copy of the sketch.  We then used the program, Paint, to colour in the pictures digitally…re-creating that distinctive, Pete McKee look.  Here is our progress so far…


Print Friendly, PDF & Email

End of Topic Roman day!

We had such a brilliant end of topic day celebration, thank you to all of the parents that helped make this happen!

We really enjoyed dressing up in our Roman attire and heading down to the field to hunt the Celt (thanks, kids!!)

In the afternoon, we were split into small groups and sampled some famous pizzas from around Italy, we even got to wash them down with some delicious dessert, tiramisu (yum!)

Print Friendly, PDF & Email

Roman buildings

This week, we have brought Ancient Rome to life in our classroom!

Doesn’t the spring water look inviting in the baths?


Print Friendly, PDF & Email

Roman portraits

Our art skills have come on such a long way!

The children should be very proud of themselves for the amazing work they have produced, they look like actual photos!

Year 4, can you spot yours?

Print Friendly, PDF & Email

Our car manufacturing is well underway, will they be spotted cruising up and down Sheffield Road!?

Print Friendly, PDF & Email

Check out some of the portraits and even SIMS characters of the teachers we received!

Print Friendly, PDF & Email

Creative Christmas Wreaths

Check us out, we have been super creative this week designing and making our own Christmas wreath.

We designed the wreath in our topic books and then we had to go on a hunt on the school field to find all of the necessary items.

Print Friendly, PDF & Email

Grinch Topic Display

Take a look at some of our amazing work already on display in the classroom linked to our current topic of ‘What’s the most important thing about Christmas?’

The classroom looks super festive and we have even got our own Naughty Nigel elf to look after for Santa!

We have been wondering why he is in our class and thinking of how he got here?

Print Friendly, PDF & Email

Designing an Amulet!

Today Year 4 used their designing and clay modelling skills to create an Egyptian Amulet. The class discussed the use of an amulet in ancient Egypt and how these were used in the burial process to protect the Pharaoh in the afterlife!

They also looked at various designs and why the eye was linked to the Egyptian god ‘Horus’.

Here are some of our amazing amulets from today.

Print Friendly, PDF & Email

Amazing Animals of Ancient Egypt

Today we looked at the various animals around in Ancient Egypt and what the Egyptians thought of them. Some animals like dogs and cats were used as domestic pets, whereas horses and bulls had jobs and were working animals.

Horses were used to pull the chariots and bulls were used to pull the heavy gold sarcophaguses. Here are a few examples of the lovely topic work from today.


Print Friendly, PDF & Email

Scribble art

At home this weekend, Grace and I worked on a big scribble picture.  To begin with, we drew a VERY simple and very light pencil outline of Robin Hood on a big piece of paper.  You can make loads of mistakes and redo bits without rubbing out as no one will ever see them! (You don’t have to be a good drawer)

The only bit we put a lot of effort into was the face, especially the eye area.

Add black felt tip carefully to show details such as pupils, eyebrows and even some eye lashes.  We added a beard and moustache as we though it fitted the scribble style we were going to use.


Then comes the fun bit!  Scribble!!!  Keep going over your sketch lines, use different shades of the same colour.  You don’t need to be too careful but try to make your scribbles for parts of the picture go in the same direction…we did the shade lines on the face the same direction, we kept going over the hood with different greens.

Finally, add a background by drawing 100s of scribble leaves. Scribble them in light green and scribble in the gaps in dark green. Do really thick scribble when you get close to your character to make him stand out. You can even add secret words and messages into the leaves…

There you have it, a scribble picture…they look best when you do them really big and then view them from far away or take a photo.  Share yours with us so we can see your skills!


Print Friendly, PDF & Email

Highwayman art in school

We used our home-made ink to follow Mr Swallow’s video tutorial.  Today, now they are dry, we added charcoal highlights to make some bits stand out!

They look amazing…

Print Friendly, PDF & Email

Making our own ink!!

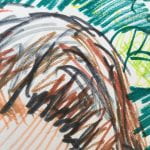
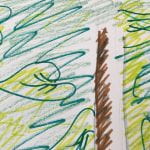
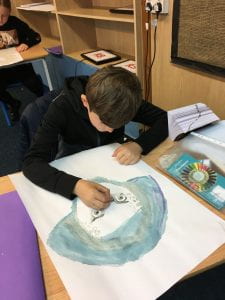
This afternoon, we will use some very common household ingredients to make our own ink and quill.

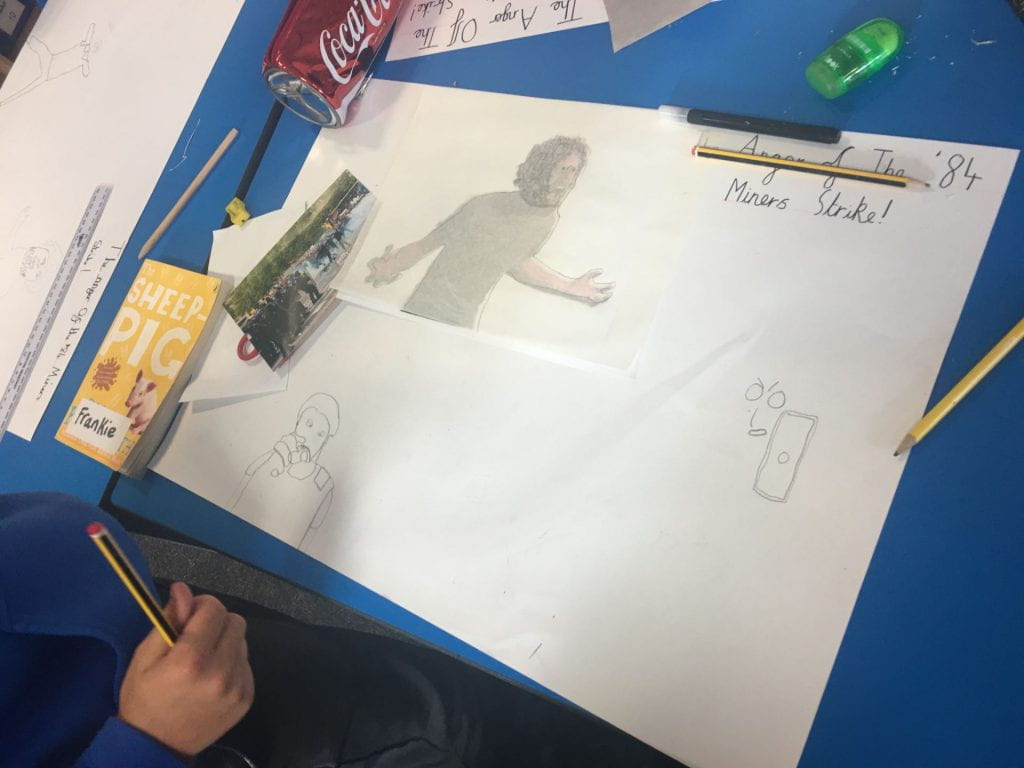
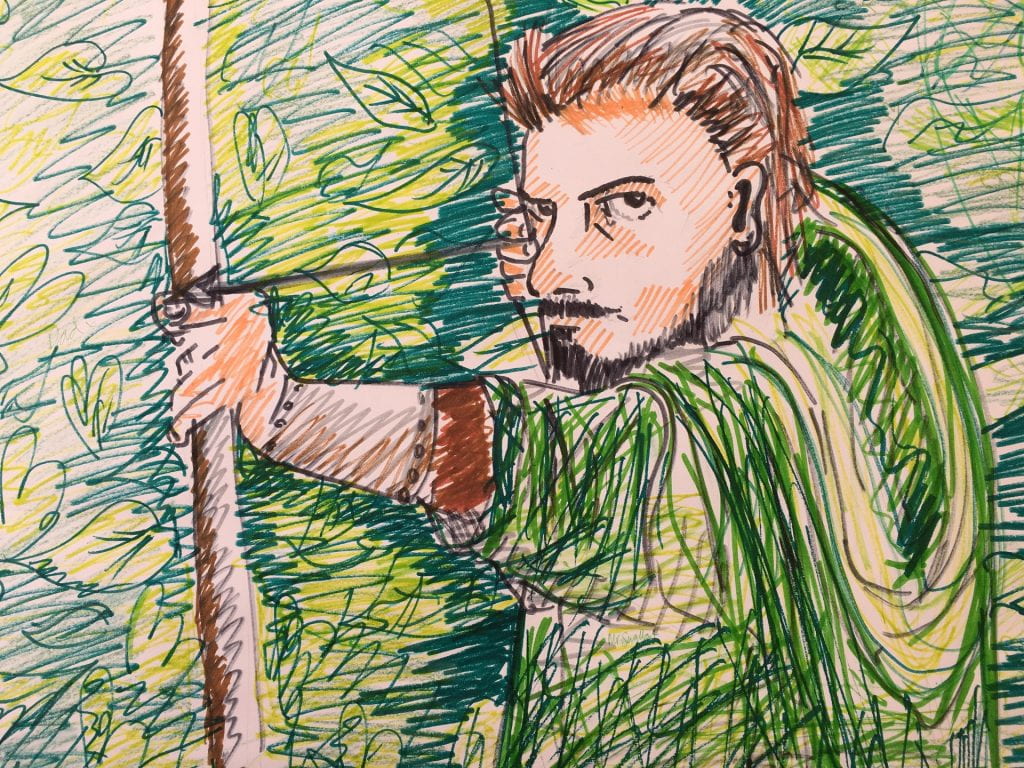
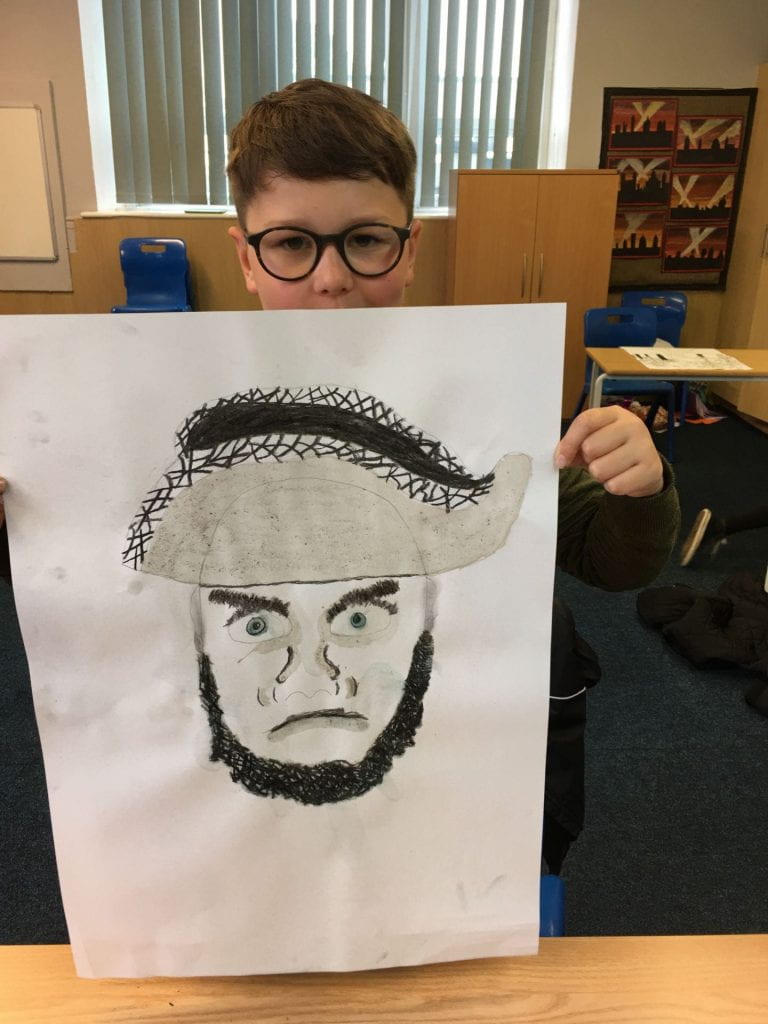
We shall use our ink to draw a portrait of one of the characters from the highwayman on Wednesday.

The ink making and the art lesson will be both be online lessons through Zoom.  I will start the connection from 1:15 both days for you to log in.

Tuesday 1:30pm ink making lesson

Zoom Meeting ID: 951 3096 3816

Password:  ink

You will need:  salt, vinegar, a few handfulls of dark berries such as blueberries or blackberries.  (You can make other coloured ink with the appropriate color berry or veg!)  You will also need either a fine sieve, muslim cloth or old babric to strain them through.

If you would also like to make a quill, you will need a feather or a thin straw and some scraps of paper & glue.


Wednesday 1:30 portrait drawing

Meeting ID: 990 7137 5354

Password:  art

You will need:  paper (preferably a3 art paper but whatever you have will work!) your home-made ink, either a stick of charcoal or some ash (you can just have an adult light a few matches and let them burn out, they work just as well)

Print Friendly, PDF & Email

Art competition

Good morning everyone, the work you have done on the art competition is fabulous. You have obviously spent a great deal of time working on these to create these images. I am so impressed and it has been an utter delight for myself and the rest of the staff to see these. They are so bright, colourful and detailed and using lots of different medium.

There have been so many to look through so it has been very challenging indeed to make a final decision. Well done to everyone who took part, however, there can only be one winner and that is Toby in Y4 for his lovely and accurate drawing of Mrs Buckley.

Thank you once again to everyone who took part and had a go, it has been so lovely to see your art work.

Mr Bailey

Print Friendly, PDF & Email

Lancelot digital artwork

We applied the pencil and ink line drawing techniques we learned in unit 1 to create our own portrait of Sir Lancelot, the heroic knight of the round table.

We let ourselves go crazy with sketching pencil, putting as many lines on the page as we wanted and re-doing lines that were not quite right over and over again.  When we were happy, we switched to ink and picked out only the best of the pencil lines, removing the rest with a rubber.

We used a combination of coloured pencil and coloured ink to create areas of light and shade in the portrait and then added bright highlights by removing patches of colour with the rubber (we wanted Lancelot’s sword and armour to glisten in the sun like it does in our poem!)

Then we got all digital…

Mr Swallow took photos of all of our art using an SLR camera.  We used several steps to then manipulate this image:

  • We imported the image into Paint and masked out any background from the character.
  • We copied the masked out character to the clipboard for use later
  • We used a google search to find a comic style background that complemented what we wanted our image of Lancelot to communicate.
  • We inserted the online image into word and then pasted our Lancelot cut out over the top.
  • We then used our ninja-like word skills to alter the position & colouring and remove any background colours to combine both pictures into our own, digital piece of artwork.
  • FINALLY, we added a direct quote from the poem that had inspired our idea of what Lancelot should look like in our artwork

Phew!  WE ARE GOOD!

Print Friendly, PDF & Email

Religious iconography

We looked at icons that told the Easter story. The pictures all had a similar style. We noticed that:

  • some of the people had a gold circle around their head (Mr Swallow explained this represented their halo)
  • the pictures had rich, strong colours
  • the people tended to always look to the side
  • the scene in the paining wasn’t “real” it had other elements from later in the story in it.  Mr Swallow explained that the scene was a representation of lots of elements or ideas from the story

we decided to use this style to create our own representation of a scene from the Easter story.

Print Friendly, PDF & Email

How to argue and debate (part 1)

we have been learning skills that help us present our arguments clearly and debate others’ point of view.  We practiced in class, using our skills to debate important issues, such as: Should we have to wear a school uniform?  Should we have homework?  Should we begin the school day earlier or later?

The children split into 2 teams to decide on what their arguments should be and then debate the issue with the other team.

The skills were:

  • Be polite, show the other person you have listened to their point of view (using phrases such as, “That’s a good point, but…”  “I see what you mean, however…”  “I agree with you, but have you considered…”)
  • Try to anticipate what the other team will say and beat them to it (“I imagine you thing we need homework to do well but…”  “Some people say we shouldn’t have to wear a uniform but…”)

Hopefully, these phrases may sound familiar to our parents because our homework is to go home and win an argument (or friendly debate) using our new-found powers of persuasion!

So if your dinner conversation tonight begins with, “Mum, I really appreciate you want me to eat healthily and that’s because you care, but…”  then don’t worry…your child is just doing their homework!


Print Friendly, PDF & Email

Propaganda Posters

Our new Unit is all about persuasion and influence.  We have begun by looking at the way Propaganda Posters were used in WW2 to influence people’s attitudes and opinions.  We looked at the tricks that the poster makers had used and pinched them to use in posters of our own.

We split into 2 groups…1 group who wanted people to rise up against the White Witch (by making her seem either evil or incompetent and easy to beat) and 1 group who were on the side of the White Witch (and therefore either wanted to make the Witch look good or make her enemies look foolish).  See if you can spot the ways we have tried to influence you…

Print Friendly, PDF & Email

Art focus: Contrast

We want our topic book covers to feel as if you can open them and step into Narnia.  To create the wintery landscape inside, we learned a new skill.

We used extremely light, pastel shades to create a pale, wintry sky and snowscape.  We then contrasted this with black ink trees and a lamp post in the foreground.  It was interesting seeing all of the different techniques we had to use to create this simple effect.

Print Friendly, PDF & Email

Dragon Eye Artwork!

We have been creating some amazing artwork in year 4!

As our topic is based all around dragons, we have been looking at the amazing details in dragons eyes and the colours and textures around the eyes.

We created our own dragon eyes out of clay and we used acrylic paints to recreate the bright colours of dragons skin!

Take a look at some of the amazing examples!

Print Friendly, PDF & Email

EYES EVERYWHERE!!!

This week, we have started our new topic, How to Train Your Dragon. Check out our beautiful artwork! Make sure you pop in to have a look!

Print Friendly, PDF & Email

We used our art work to help with our creative writing this morning

We are creating ink drawings of ourselves in character onboard a prison ship, in the First Fleet on its way to Australia.

This morning we had to add post-it notes to show how our characters would be feeling.  Were they missing home?  How was life onboard ship making them feel?  What were they scared of?  What would Australia be like when they got there?  They look great…

We now need to use those post-it note feelings in our diary writing!

Print Friendly, PDF & Email